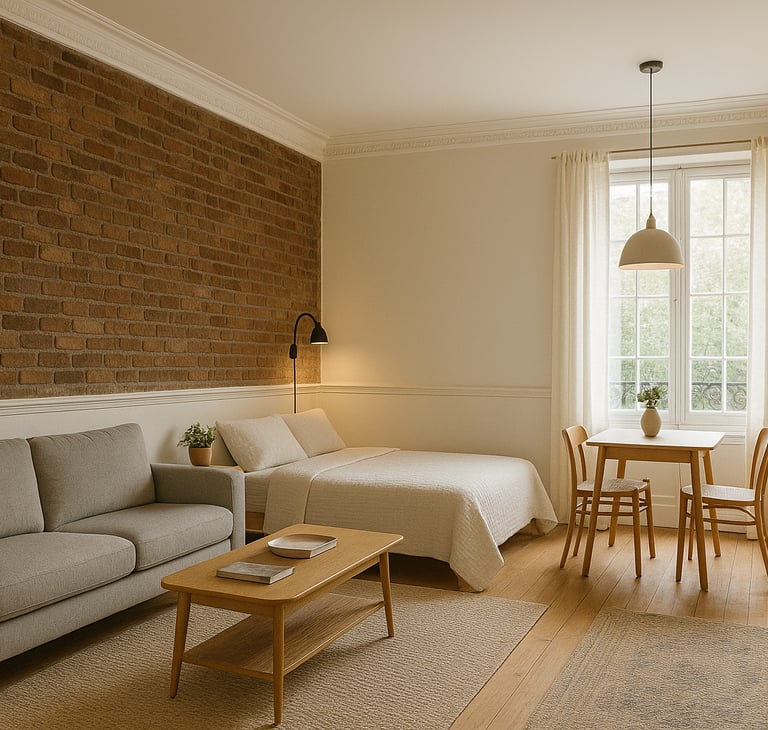
Break Up a Studio—Keep the Light, Keep the Flow
Break up your studio without losing light or flow. Use low dividers, open shelves, curtains, rugs, and layered lighting to create flexible zones in NYC too!
INTERIOR DESIGN
Luis
8/27/20254 min read
How to Break Up a Studio Apartment Without Losing Light or Flow
The golden rules (for light + flow)
Protect sightlines. Keep dividers below eye level (≈42") or use see-through materials.
Leave clear paths. Aim for 30–36" walkways from door → bed → kitchen.
Float, don’t cram. Pull furniture a few inches off the wall to breathe.
Layer, don’t lump. Rugs + lighting + low dividers = defined zones that still feel open.
Use the ceiling. Tracks and swag hooks free up floor space and keep light moving.
Furniture Placement as Dividers
Use pieces that work while they divide.
Sofa-as-gate: Float your sofa with the back facing the “bedroom.” Add a narrow console (10–14" deep) behind it for keys, lamps, and hidden storage.
Daybed or low bookcase: A 30–36" tall open-back shelf or a daybed visually separates sleep from living without becoming a wall.
Headboard screen: Place a freestanding headboard or low bench at the foot of the bed to suggest a boundary.
Dining-as-entry: A small table + two chairs can form a believable “entry” and keep the kitchen lane clear.
DSI tip: Keep divider furniture no higher than window sills to avoid shadowing the room.
Open Shelving, Glass Partitions, and Curtains
Zone smartly while letting light travel.
Open Shelving
Choose backless units so daylight passes through.
Stagger heights: low (30") near windows, taller (42–48") deeper in the space.
Style lightly: baskets on the bottom, airy objects up top.
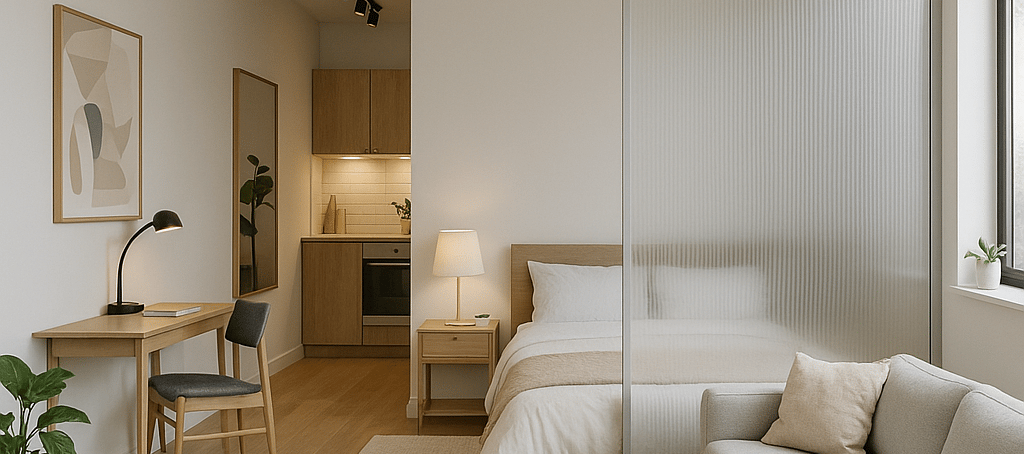
Glass or Acrylic Partitions
Consider ribbed/frosted panels (on casters) to blur the bed area while keeping brightness.
Keep panels 24–36" from the window so you don’t block the glow.
Ceiling-Track Curtains (Renter-Friendly)
Mount a ceiling track for sheer by day + blackout by night (double track = chef’s kiss).
Panel width should be 1.5–2× the span for elegant fullness; hem to kiss the floor.
Create a “return” (wrap the curtain back to the wall) to hide the bed cleanly.
DSI tip: If drilling’s a no-go, we can use pressure/tension solutions or target studs and provide a COI on the spot for building approval.
Use Rugs and Lighting to Define Spaces
Make each zone feel intentional.
Rugs (anchor the zones)
Living: 6×9 or 8×10; front legs of sofa/chairs on the rug.
Bed (Queen): 6×9 under the lower ⅔ of the bed, or two 2×6 runners on each side.
Dining/Desk: Rug extends 24" beyond chair legs to avoid chair-catch.
Lighting (shape the mood)
Ambient: plug-in pendants (swag to center each zone) or low-profile uplighting.
Task: clamp or floor lamps for desk, reading, and kitchen prep.
Accent: picture lights, LED strips on shelves/ceiling edges for a soft wash.
Color temp: 2700–3000K for chill zones; 3500–4000K for desk/kitchen.
DSI tip: Put each zone on a smart plug or dimmer so “movie night,” “work,” and “sleep” live on presets.
Foldable & Modular MVPs for Multi-Use Zones
Small space = flexible pieces that change roles fast.
Drop-leaf table: wall-hugging desk by day, 4-person dining by night.
Nesting coffee tables: spread out for guests, stack tight for daily life.
Lift-top coffee table: secret storage + laptop height when you need it.
Folding chairs: hang on hooks or slide behind the sofa/under the bed.
Modular sofa: chaise that flips sides, ottomans that dock as benches.
Wall-mounted drop desk: folds flat when not in use (entry or window nook).
Slim room screen: lightweight panel to hide the bed on Zoom, folds away after.
DSI tip: Aim for multi-function + easy stow. If it takes 10 steps to put away, it won’t happen.
Layout Recipes (steal these)
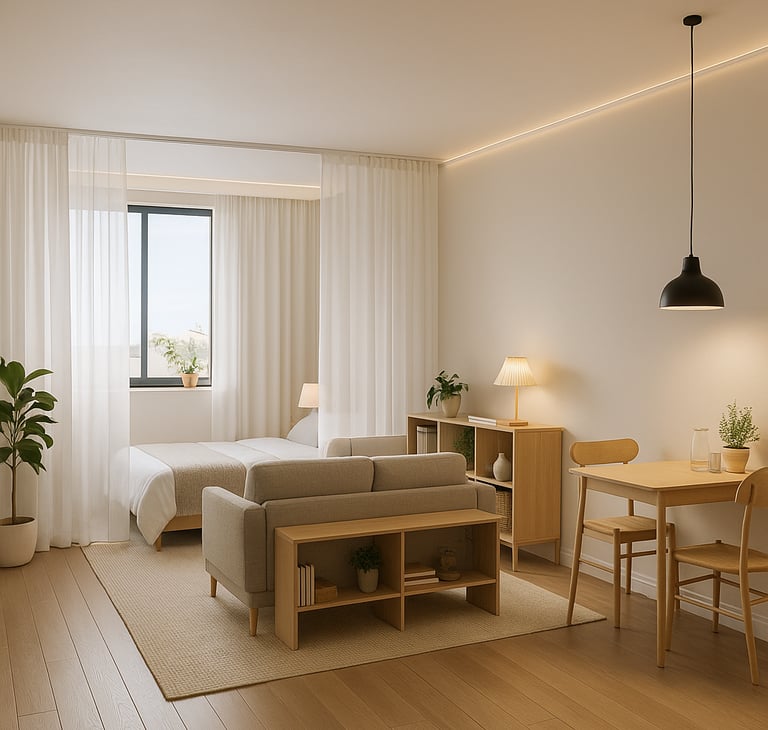
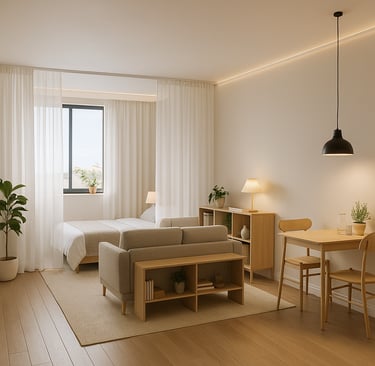
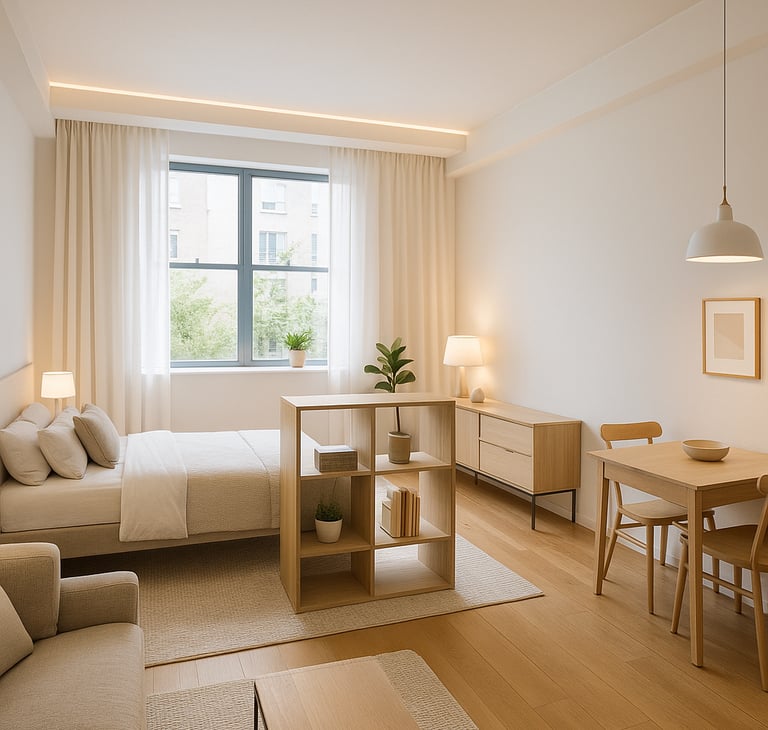
A) “Window Bedroom, Bright Living”
Bed tucked perpendicular to the window with sheer + blackout on a ceiling track.
Low shelf behind the sofa creates a living/entry and hides bed sightlines.
Drop-leaf table along a wall doubles as desk/dining.
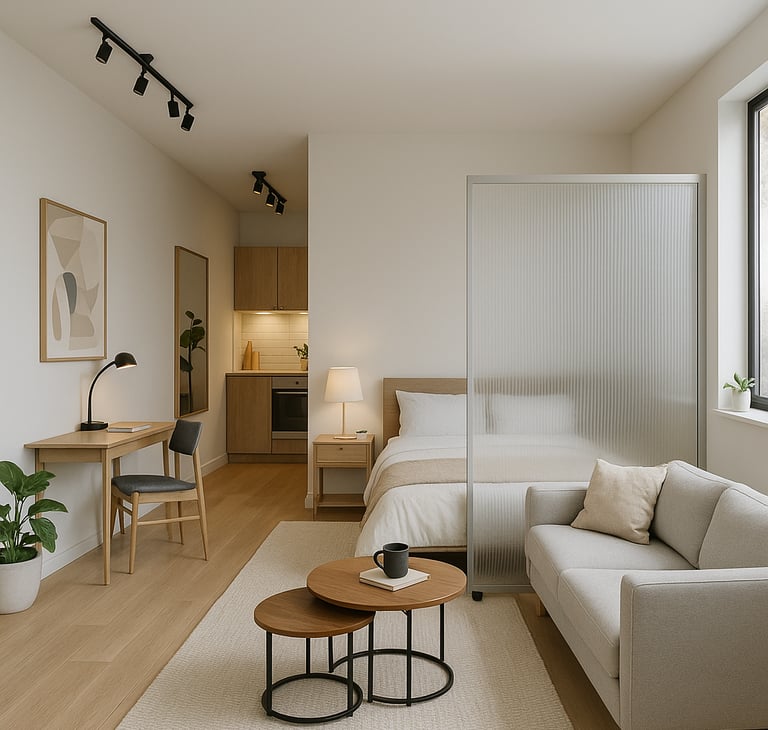
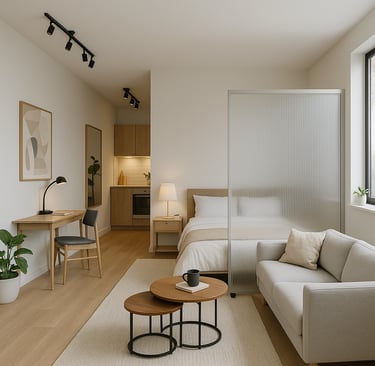
B) “Central Lounge, Side Sleep”
Sofa centered; two rugs define living vs. sleep.
Frosted panel or curtain beside the bed for privacy—keeps window fully open.
Track lights aim toward art/kitchen; desk lamp handles tasks.
C) “Entertainer’s Studio”
Daybed + nesting tables make the living zone flexible for guests.
Plug-in pendant swagged over a compact dining table marks the “dining room.”
Foldable chairs on wall hooks near the table; blackout returns hide bed clutter.
Common mistakes
Full-height bookcases right by the window = instant cave.
Tiny rugs that float like bath mats—go bigger to visually expand.
One harsh overhead bulb—layered lighting is the secret sauce.
Blocking the main path with backs of chairs or storage boxes.
Heavy dark dividers that swallow light; choose light tones or translucent textures.